All categories

Details
Price TypeNegotiable
Description
1. **Check the Thermostat**
- Ensure the thermostat is set to "cool" and the temperature is set lower than the current room temperature.
- Replace the batteries if it’s a battery-operated thermostat.
### 2. **Inspect the Air Filter**
- A dirty or clogged air filter can restrict airflow and reduce efficiency.
- Replace the filter if it’s dirty (typically every 1-3 months).
### 3. **Check the Circuit Breaker**
- If the AC isn’t turning on, check the circuit breaker to ensure it hasn’t tripped.
- Reset it if necessary.
### 4. **Inspect the Outdoor Unit**
- Ensure the outdoor condenser unit is free of debris, leaves, or dirt.
- Clean the area around the unit and remove any obstructions.
### 5. **Check for Refrigerant Leaks**
- Low refrigerant levels can indicate a leak. Look for ice buildup on the refrigerant lines or a hissing sound.
- This issue requires a professional to repair and recharge the system.
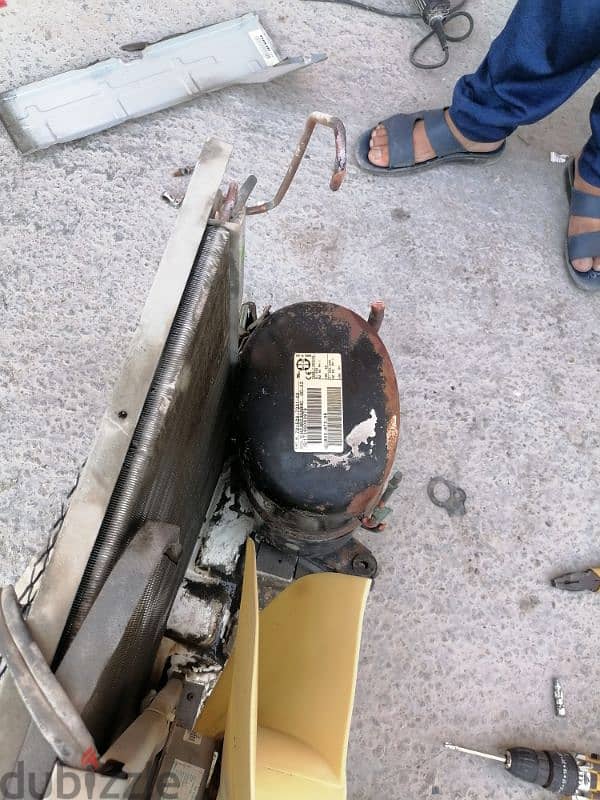
### 6. **Clean the Condenser Coils**
- Dirty condenser coils can reduce cooling efficiency. Turn off the power and gently clean the coils with a hose or coil cleaner.
### 7. **Check the Drain Line**
- A clogged drain line can cause water leakage or shut down the system. Clear the line using a wet/dry vacuum or a pipe cleaner.
### 8. **Listen for Unusual Noises**
- Grinding, squealing, or banging noises may indicate a mechanical issue, such as a failing motor or loose parts. Call a professional for diagnosis.
### 9. **Inspect the Ductwork**
- Leaky or poorly insulated ducts can reduce cooling efficiency. Seal any visible gaps or call a professional for duct inspection.
### 10. **When to Call a Professional**
- If the AC still isn’t working after basic troubleshooting.
- For refrigerant leaks, electrical issues, or compressor problems.
- If you’re unsure about any repairs or lack the proper tools.
### Preventative Maintenance Tips:
- Schedule annual maintenance with a licensed HVAC technician.
- Keep the area around the indoor and outdoor units clean.
- Replace air filters regularly
Location
Bahrain
Ad id 105413919
Report this ad
This ad is no longer available
Your safety matters to us!
- Only meet in public / crowded places.
- Never go alone to meet a buyer / seller, always take someone with you.
- Check and inspect the product properly before purchasing it.
- Never pay anything in advance or transfer money before inspecting the product.
